Recipe for the perfect productivity
Working on anything these days require more and more focus to achieve something. We are constantly bombarded by information, music, pictures, stuff to do, and so on.
But luckily for us, we’ve been living in an era where simplifying things has become a little more common than in the past. We’re able to automate many tasks nowadays, such as creating automatic routines when we wake up by turning on the lights at some time in the morning or by automatically forwarding emails from one address to another one.
We still haven’t found a way to create anything from the dust. We would need to have a way to extract materials, a processing machine which would create a specific material, an assembling machine and so on… to make it short, if we want something, we can’t produce it on our own.
Productivity dilemma - virtual desktop or multi-monitor?
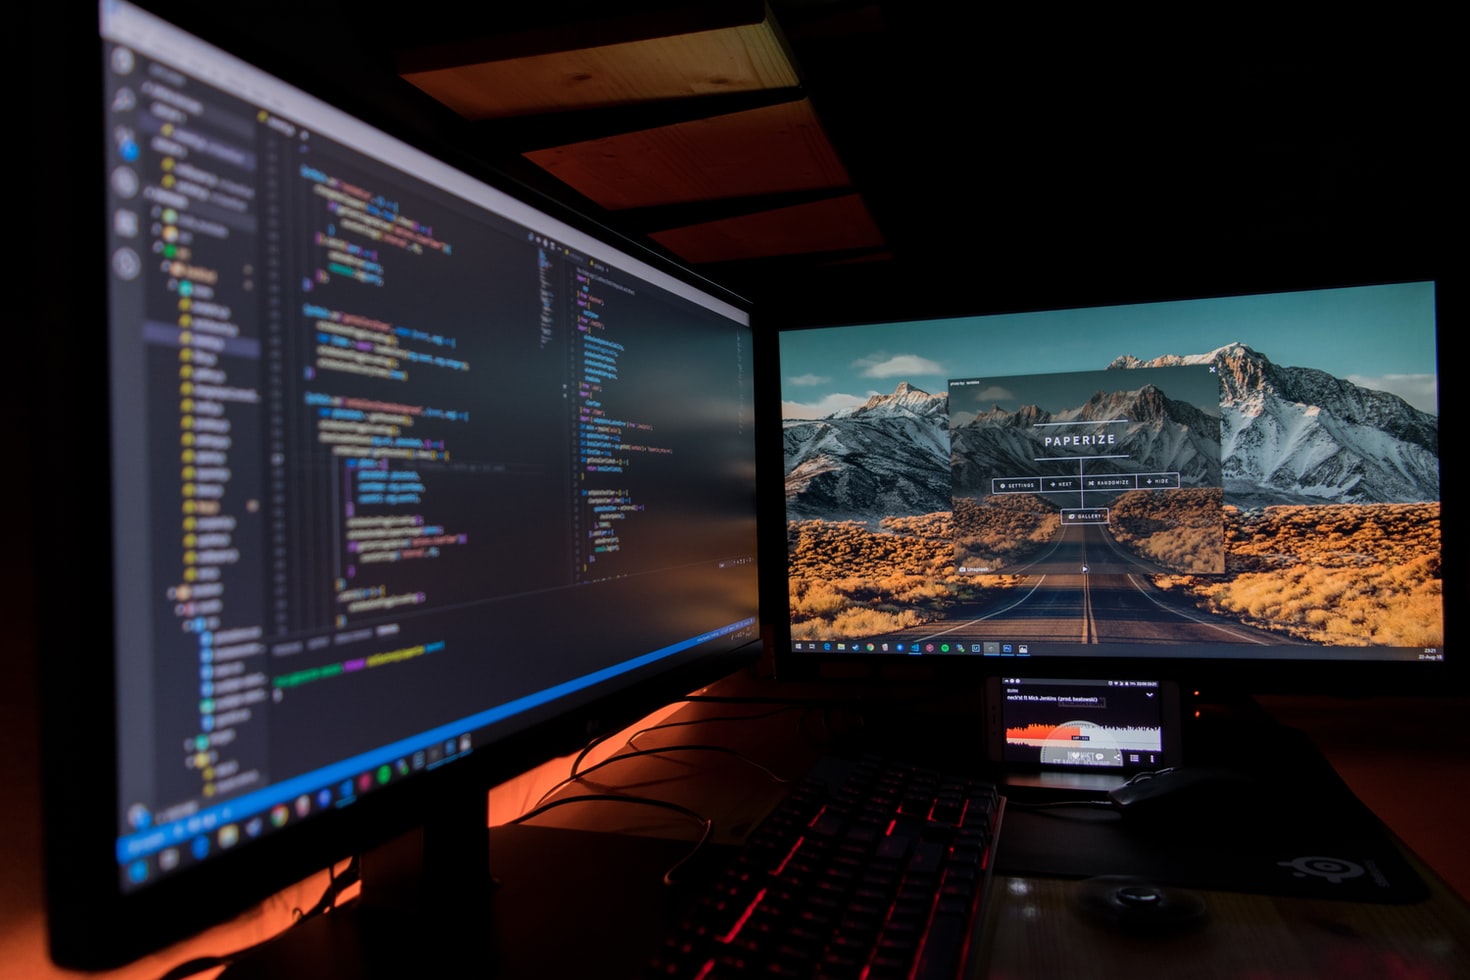
According to a study from the University of Utah 1, multiple-monitor configurations increase productivity by 10% and reduce errors by 33%
Then what’s the problem with virtual desktops? Well, you have one monitor. It means that you will be more error-prone in opening applications you don’t want on a desktop rather than another one, you will feel messy because of the disorder you’ve created.
You could split as you prefer your workspaces, but you will find out that there always is a considerable number of windows opened, and if you don’t remember where your things are, you are messed up.
Additionally, you can’t make a side-to-side comparison, which, for my taste, it is an essential task to perform.
What to do then?
Building a secondary monitor - ingredients
Here are the ingredients for this awesome productivity recipe:
- any Linux OS in your computer equipped with a DE, possibly ready for multi-monitor configuration. I have Linux with my XFCE4 on my laptop right now.
- X11: nothing else to say
- a graphic card; I have an NVIDIA card RTX2070. Or should I better say “NoVideo” according to the famous meme… (jk, I love Nvidia, even if they could open-source many other things)
- Nvidia proprietary driver: maybe it is possible to use the open-source ones, but unfortunately I was experiencing a power management problem, so I switched to the proprietary one
- an Android Tablet; any version should be fine as long as you can run a VNC viewer. I’ve used Multivnc which is excellent
- x11vnc: your x11 VNC server, needs to be installed on your machine
NOTE: I’m writing this guide for Nvidia users since I spent some time figuring out what to do. If you have other graphic cards, this won’t work for you!
NOTE2: from now, the procedure will be for Nvidia users only
Steps
Linux
You will find a lot of guides about “xrandr activate monitor”. Forget about them.
What we are going to do, is to connect a secondary monitor even if we don’t have it. This is necessary, because, we are trying to “trick” the system that there is a secondary monitor physically attached, but we are not going to attach any monitor. Instead, this fake second monitor will be controlled and displayed on our Android tablet.
From terminal:
xrandr --q
It will give us a list of the possible displays, choose the one you are not going to use.
In my system, I have DP-0, DP-1, DP-2, DP-3, DP-4, and HDMI-0.
Since each of them is listed as disconnected, except for DP-2, I’d like to use DP-1 for my virtual screen.
Now it’s time to add a xorg configuration file.
In /etc/X11/xorg.conf.d/30-virtualscreen.conf
(create it if it doesn’t exist), place this:
Section "Device"
Identifier "nvidiagpu"
Driver "nvidia"
EndSection
Section "Screen"
Identifier "nvidiascreen"
Device "nvidiagpu"
Option "ConnectedMonitor" "DP-2,DP-1"
EndSection
This will tell the system to use our virtual secondary monitor even if there is no X11 VNC server listening. It is like having extra invisible space.
Restart your machine, open a terminal and write:
x11vnc -clip xinerama1
We’ve almost done!
Type sudo nvidia-settings
on a new terminal to show the Nvidia control panel.
Then, from X Server Configuration
, set up your new screen: choose if you want it to the right or the left, and if needed change the offset in position: absolute
in +<your_first_screen_w>+0
.
The offset is the number of pixels where the second virtual screen should start.
Open another terminal and figure out what’s your local ip is by typing:
ip a
Now your VNC server is ready and your secondary screen will be displayed on your Android terminal.
Android
Now it’s finally time to use our Android secondary screen.
Download Multivnc on your Android tablet, open it, in the parameters write down your local ip and press “connect”.
Wait for it.
Boom, you did it! If you move a window on your secondary monitor, you can see it on your Android tablet. Isn’t it lovely?
Finalizing everything
In the beginning, I was talking about the powerfulness of automating things: I’d suggest creating an alias on your .bashrc to activate the server in a really quick way.
Here’s mine:
# enable second screen
alias ssup='x11vnc -clip xinerama1'
Every time I will need to connect my secondary screen, I’ll just write ssup
on a new terminal and I’ll have a fully functional secondary screen.
Done?
We’ve done! 🎉🎉🎉
The only thing I still haven’t figured out is how to disconnect this monitor when not in use because sometimes I move the cursor out of the right border of my screen, so an application may go to the invisible virtual desktop, and it may be quite annoying.
But as Thanos would have said:
A small price to pay for salvation (of your productivity)
I hope this article has been useful to you, if you loved it, please, share this story with your friends and write me an email. I’d love to know your thoughts on what I write.
Credits:
- coffee image: https://unsplash.com/photos/DJ7bWa-Gwks
- multimonitor: https://unsplash.com/photos/LJ9KY8pIH3E
- ingredients: https://unsplash.com/photos/Mfjq1hi-lVg
“Multi-Monitor Study - Usage and Trends” Jon Peddie Research, October 16, 2017, jonpeddie.com ↩︎